A magic mirror is a pretty simple project, but when complete, has the effect of a complex one. I chose this project because I want to further my skills in programming, and this project has the perfect combination of hand-held programming, whilst still leaving room for creativity. I also wanted to make a project using a Raspberry Pi, as I foresee future projects utilizing these small, cheap computers.
To make a Magic Mirror, you will need the following: old TV/monitor, Raspberry Pi, two-way glass or acrylic, wood for framing.
The first step is to deconstruct the monitor or TV and take the screen out of all the plastic. BE CAREFUL. I used an old TV that my family had in the basement and, when taking it apart, I took apart a vital piece of the screen. When screwing in my mistake, I over tightened and ruined the whole screen. Fortunately, I had a second computer monitor laying around That I used as a replacement. Lesson learned!
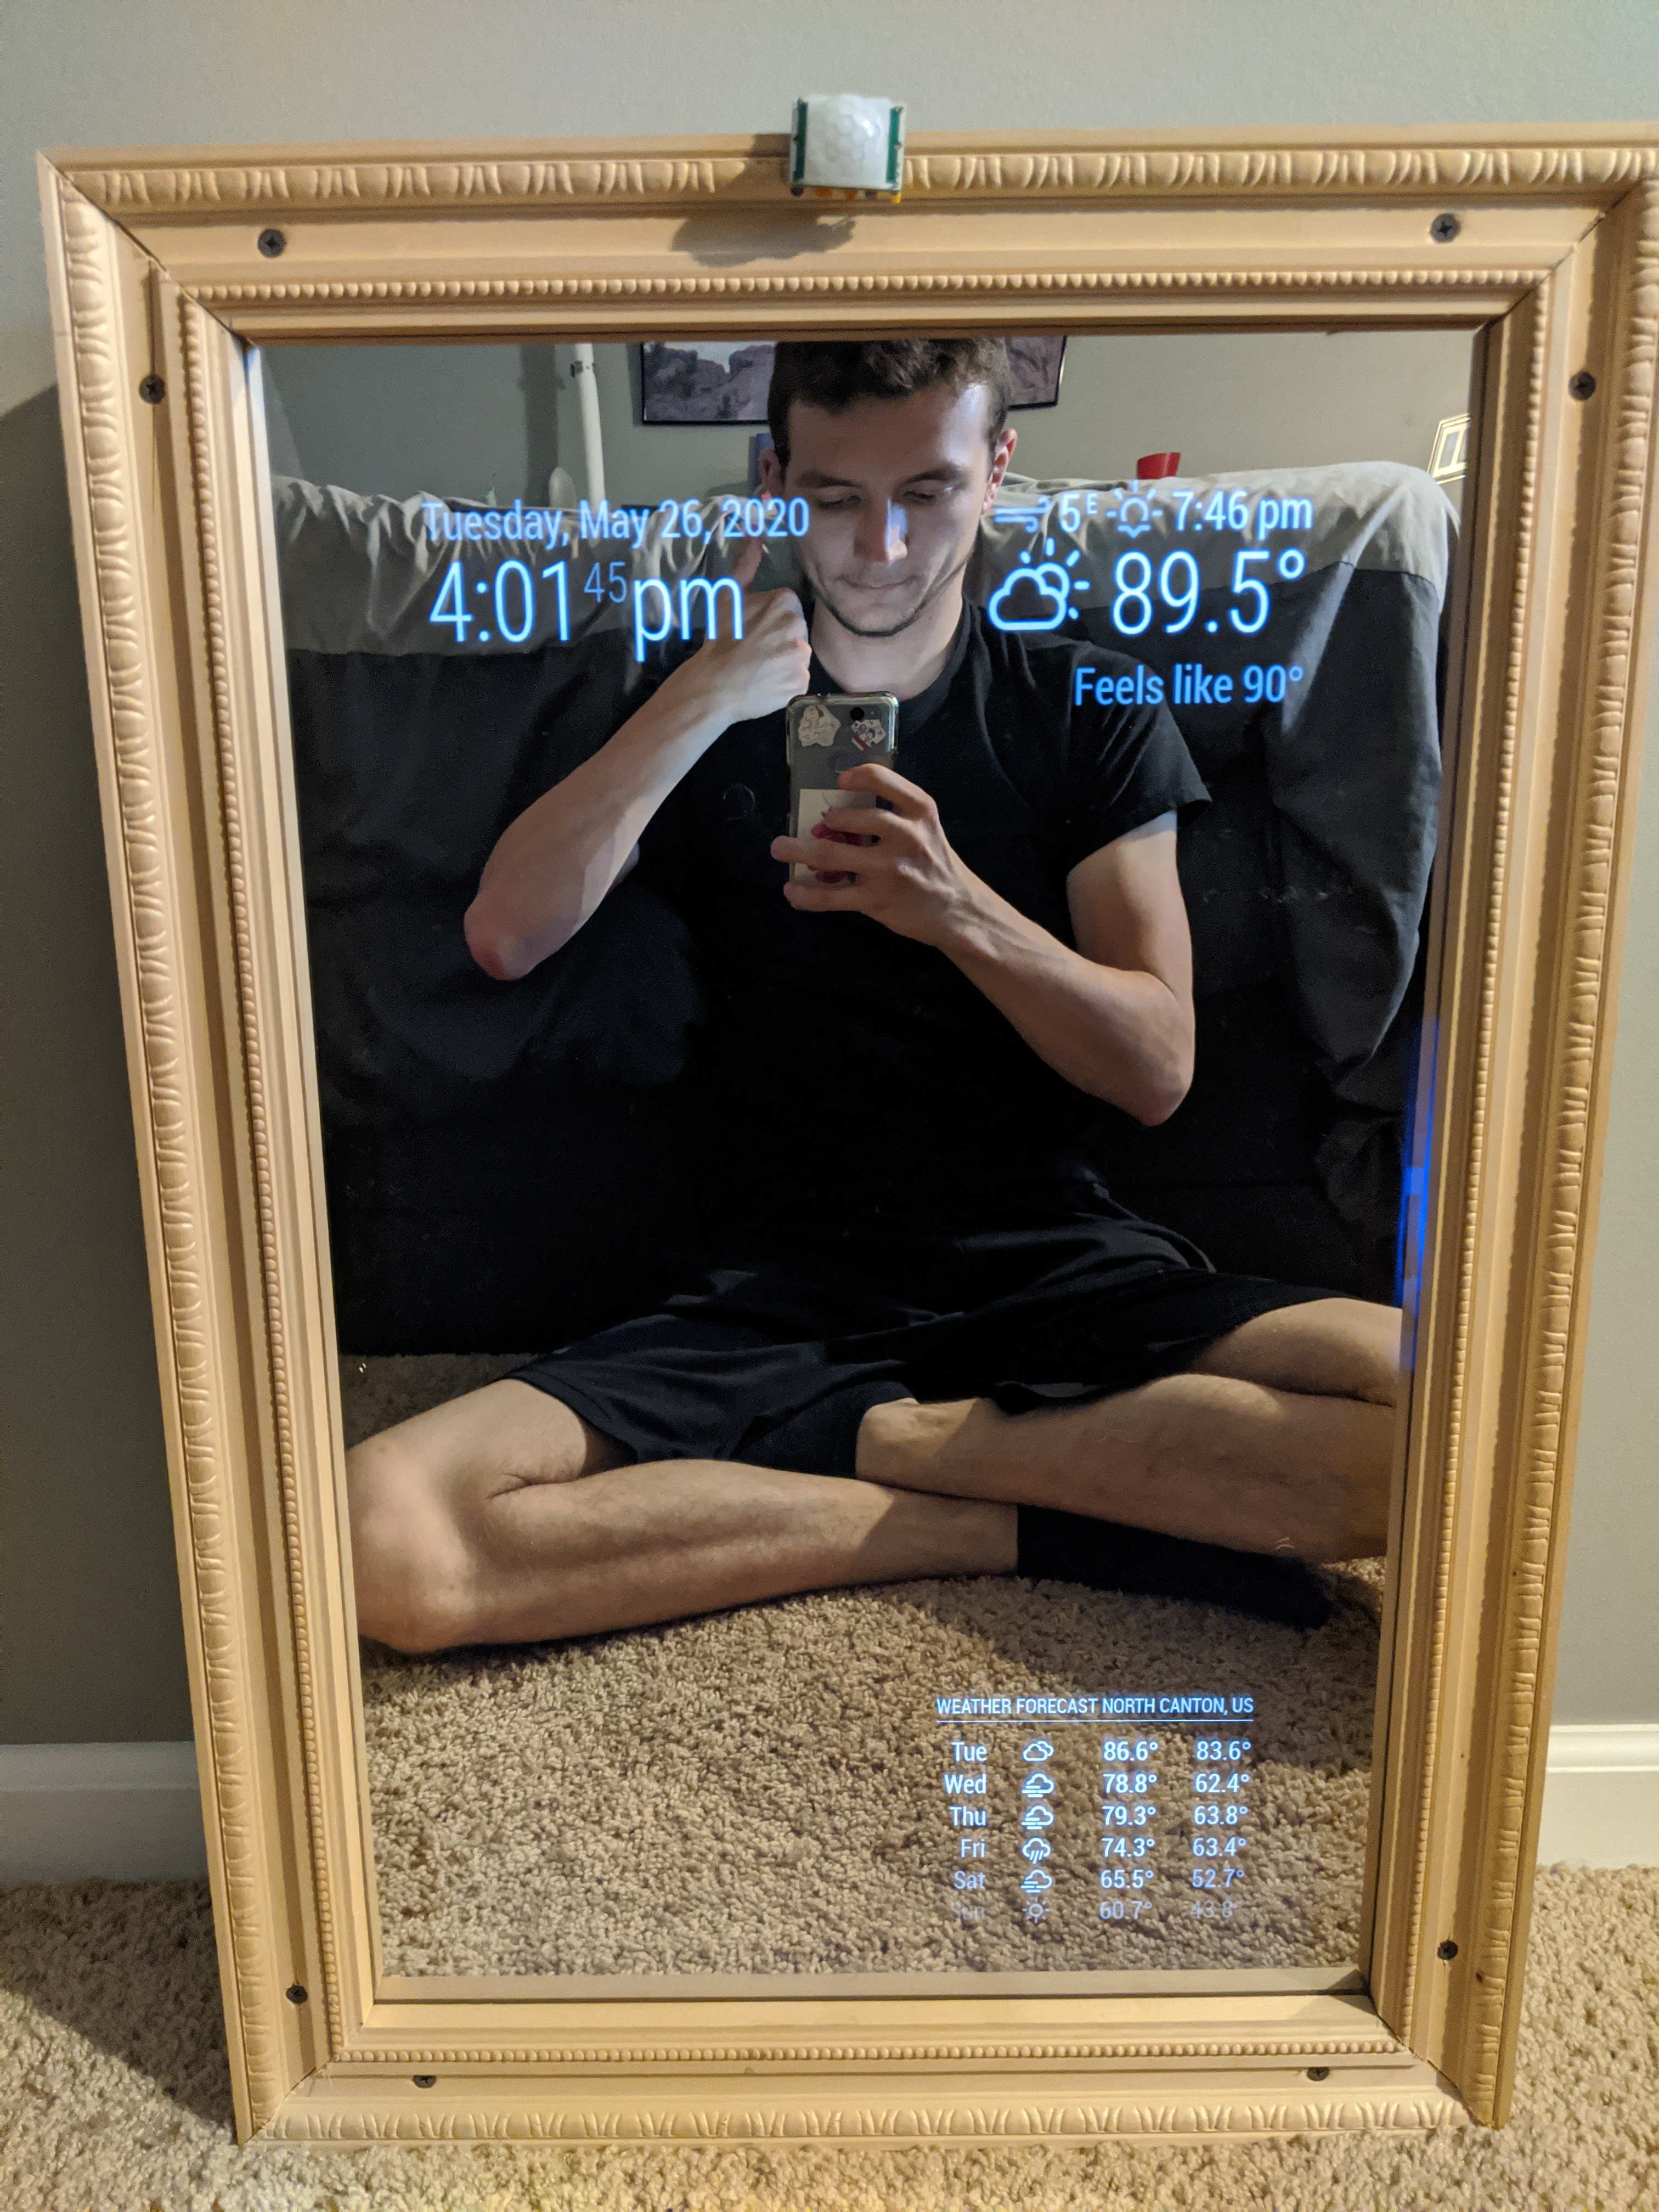
Once the screen was out, I booted up my Raspberry Pi, updated, and installed the Magic Mirror software. This software is set up the same way this website is set up, in which you can add different modules and have full customizability with the aesthetics. I had some trouble installing the software, but after a few reboots I got it working. Once installed, I hooked the Pi up to the monitor I took apart, and rotated the screen 90 degrees (landscape to portrait). I chose to start with three basic modules seen in the pictures below. I will be adding more as I see fit.
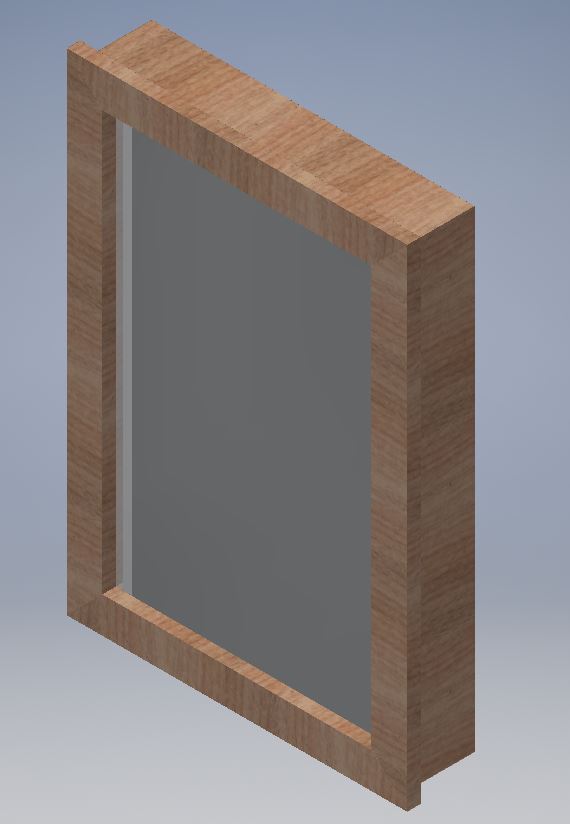
I made the frame out of a piece of 1x4 and some simple trim. To know the dimensions, I mocked the whole assembly up in Autodesk Inventor, as seen below:
For the two-way acrylic, there were a couple paths I could have taken. One way to do it is to buy an acrylic sheet at your local hardware store and a two-way wrap from somewhere like Amazon. You can then cut the acrylic to size and apply the wrap to the acrylic like one would do with their fancy car instead of painting it. This process sounds fun, but after a lot of research I found that it was near impossible to get a perfectly flat application of the wrap. Researching more, I found a few companies who specialized in two-way plastic and I settled with Tap Plastics. This company will cut a custom sized sheet specific to any project, and each sheet reflects perfectly like any other mirror. As an added plus, it was very close to the cost of doing it myself.
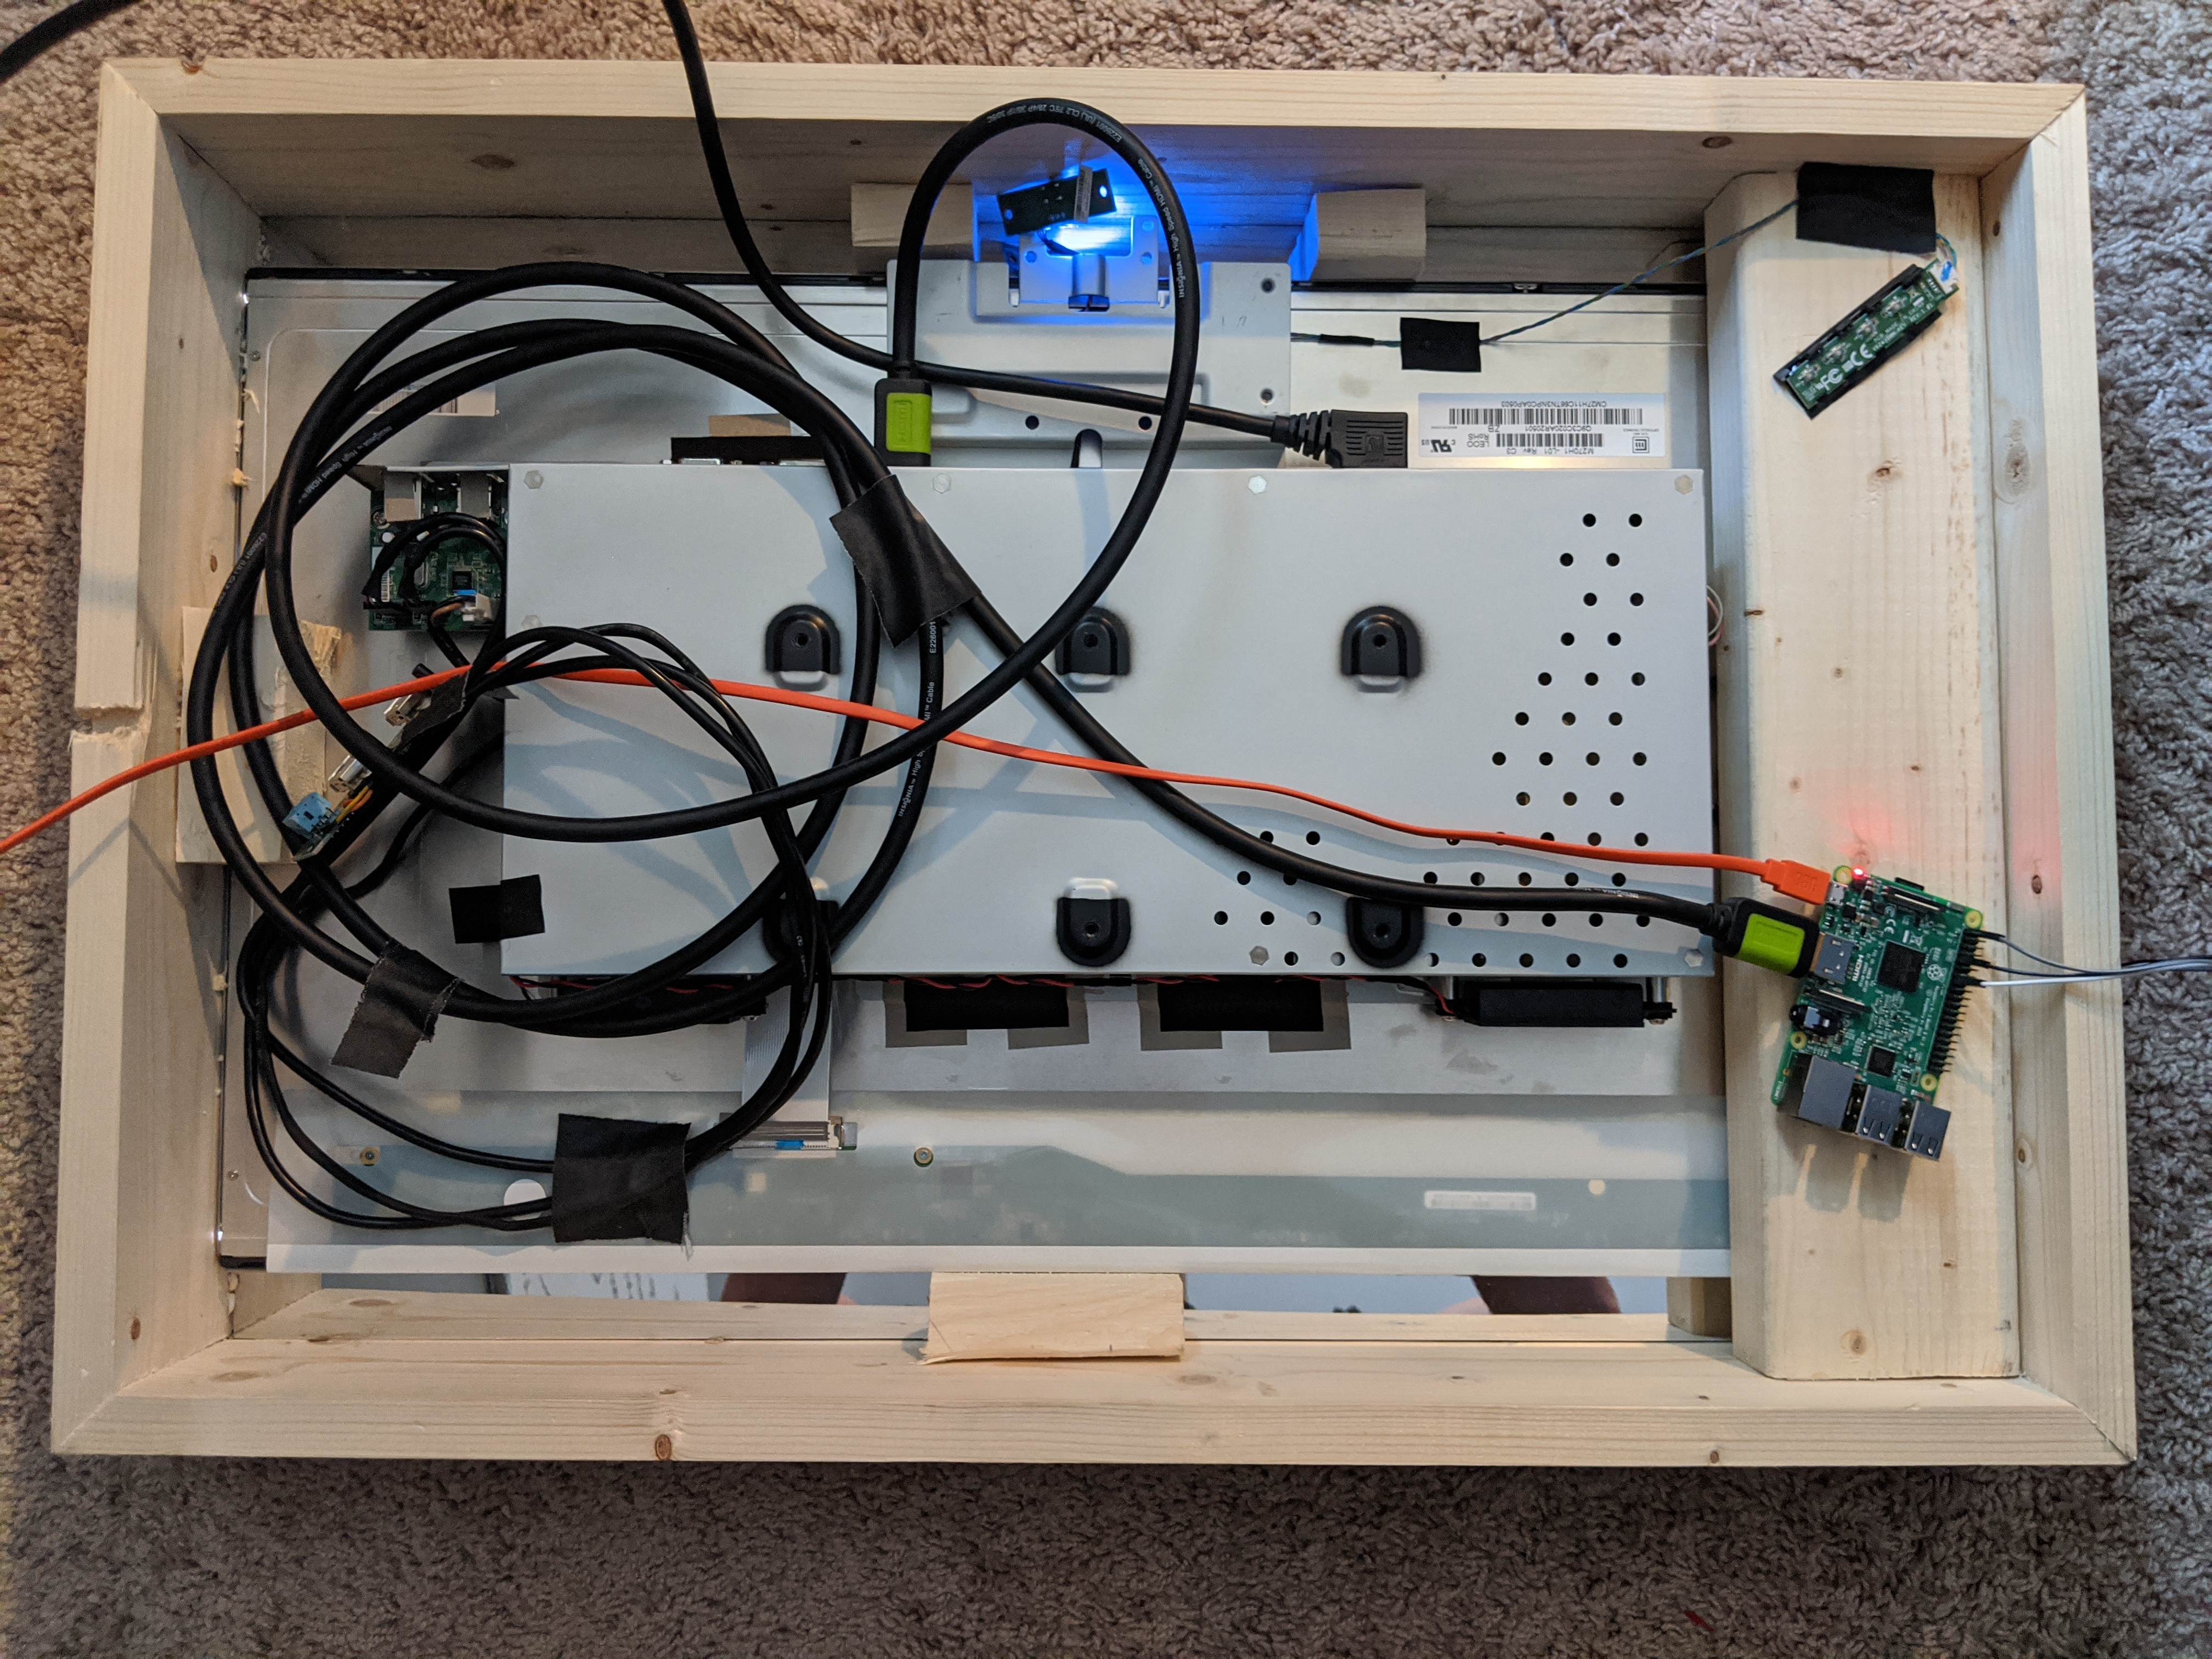
Once I had all of my supplies, all I had to do was assemble! A picture of the back is seen below:
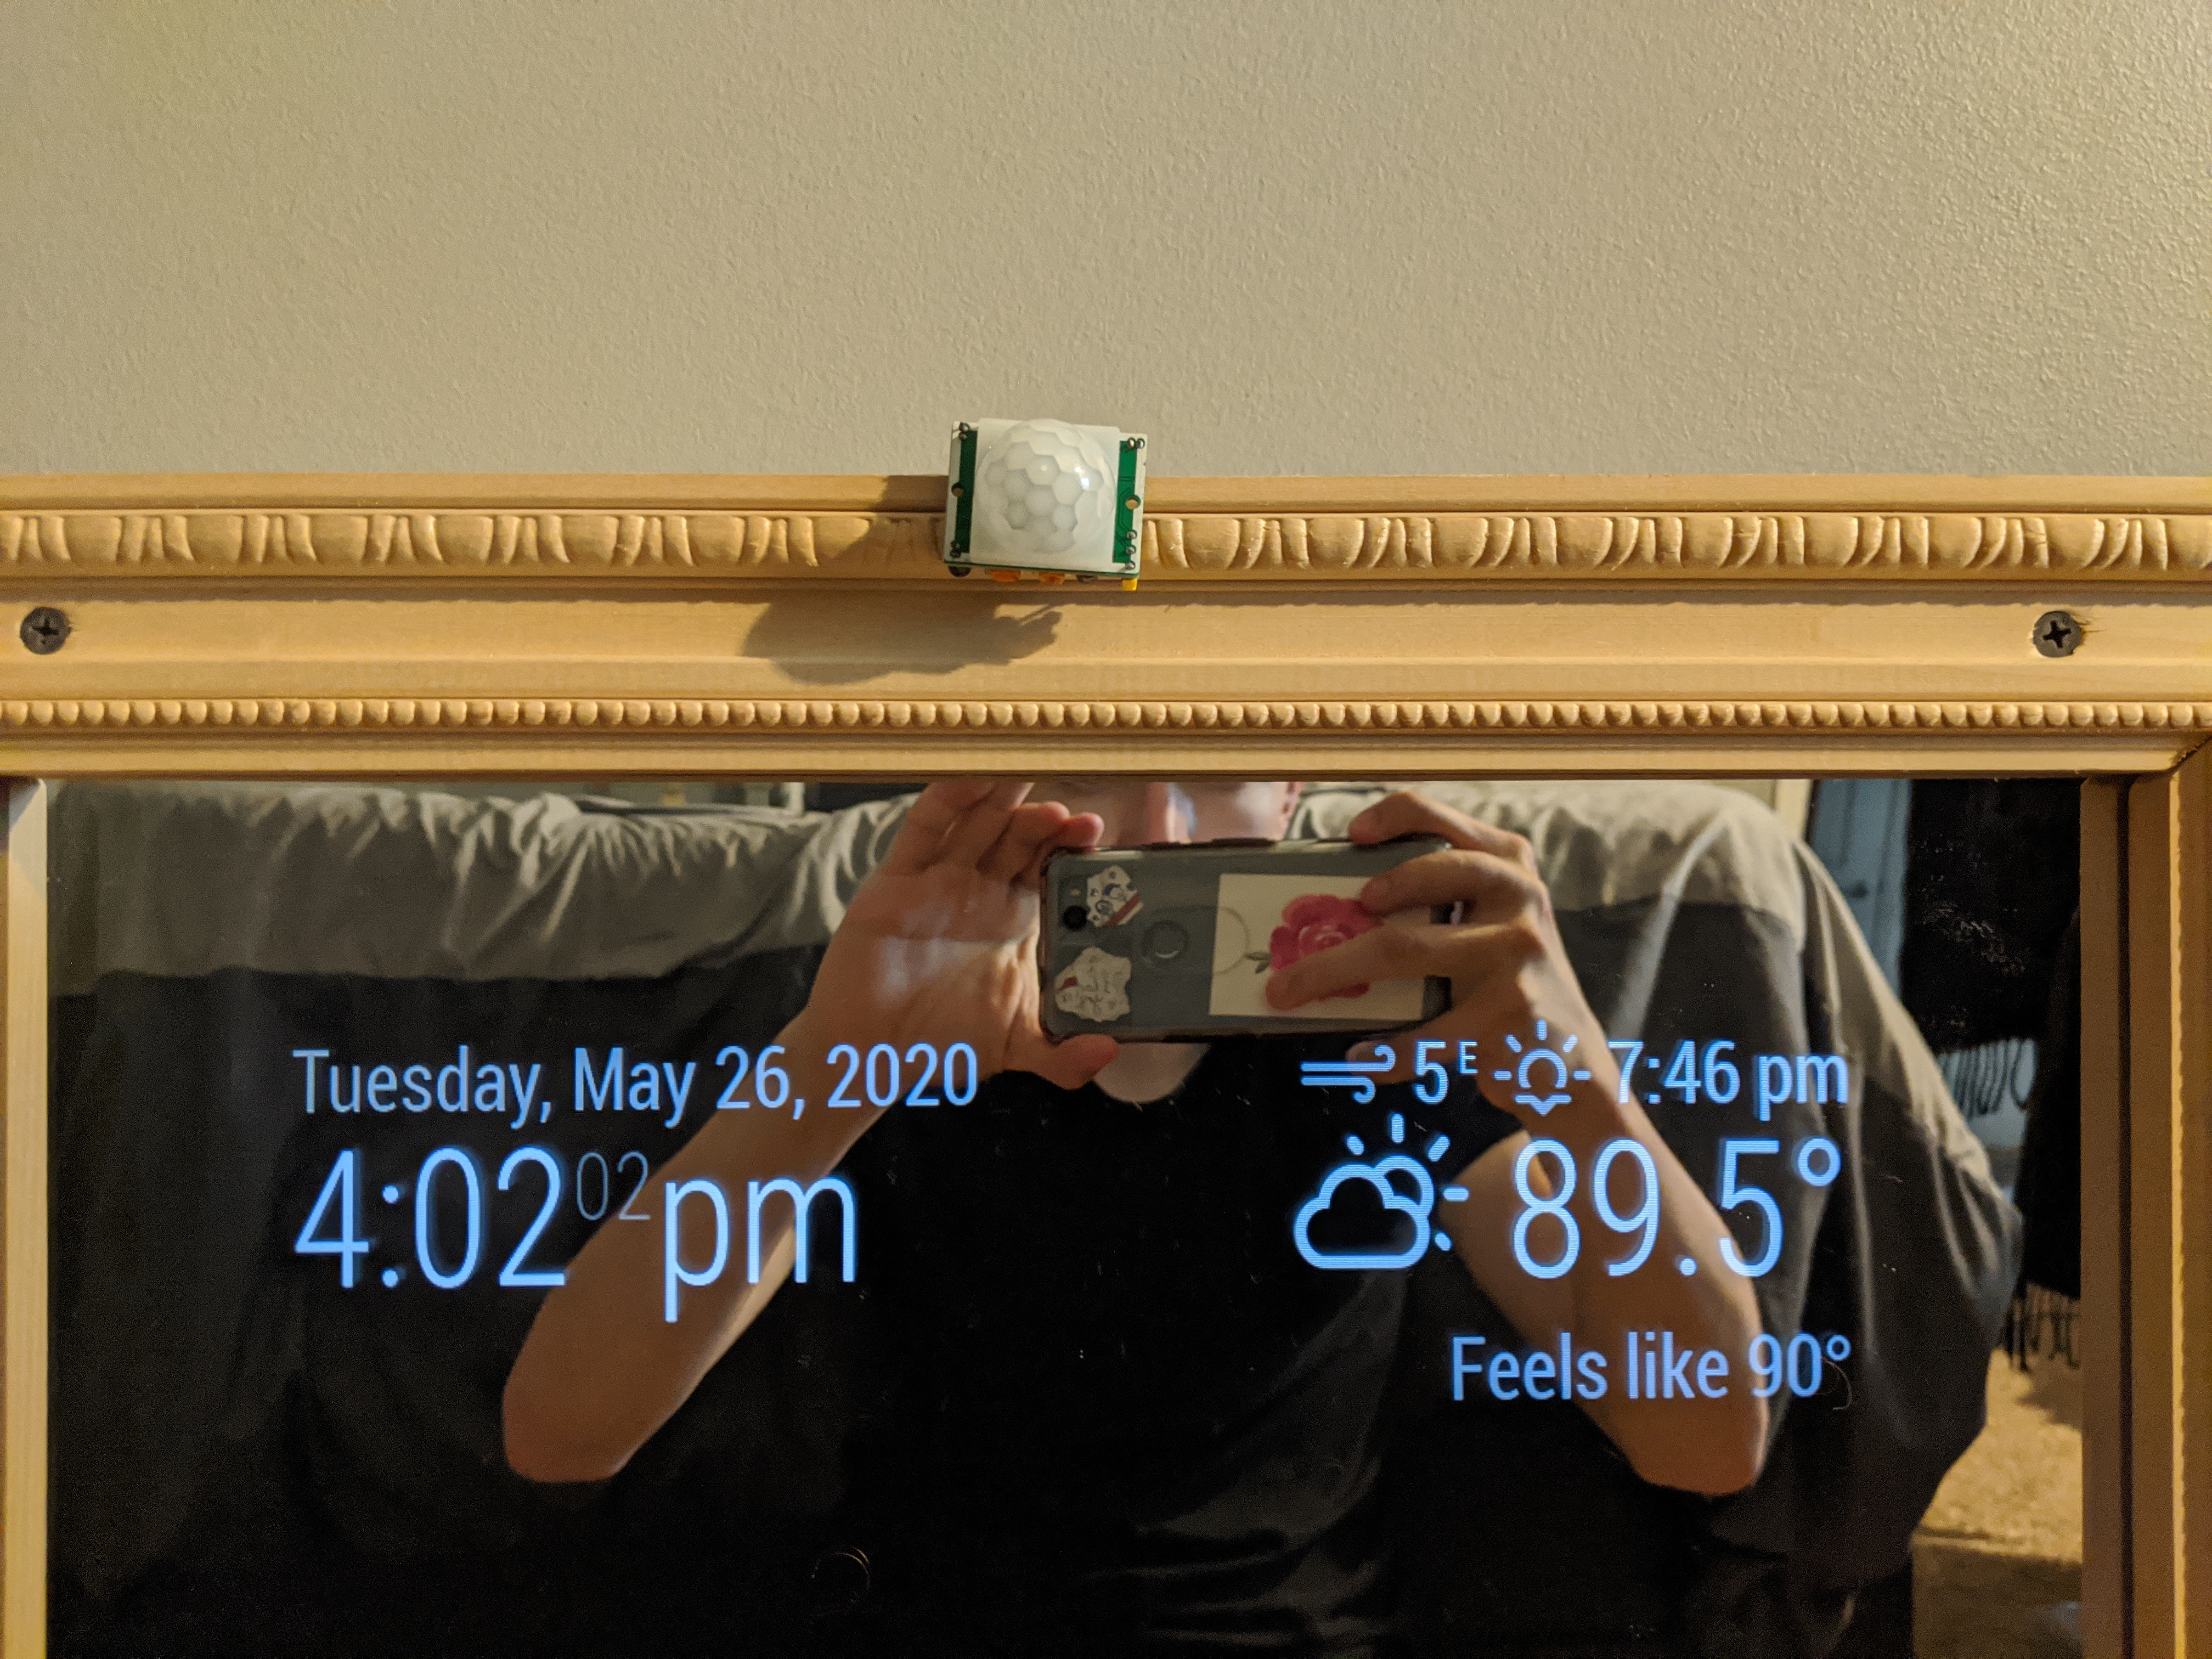
An issue I had when the mirror was fully complete was that it was always on. I would turn it off at night but in the morning, my Raspberry Pi took a long time to reboot and it took away the magic behind the mirror, at least for me. To counter this problem, I found a module for the mirror that utilized an infrared sensor to detect motion in front of the mirror. When there is no motion, the sensor will tell the Pi to turn off the screen, but not the Pi. When motion is detected, the screen is turned back on. This way, the Pi never has to reboot and there is an added surprise when someone walks in front of it! As a side effect, this also decreases yearly power consumption dramatically.
All in all, this was a really quick and fun project! Everyone who sees it is shocked and wonders how it works. I look forward to updating this when I add more modules like a calendar and google maps and such!

Magic Mirror